
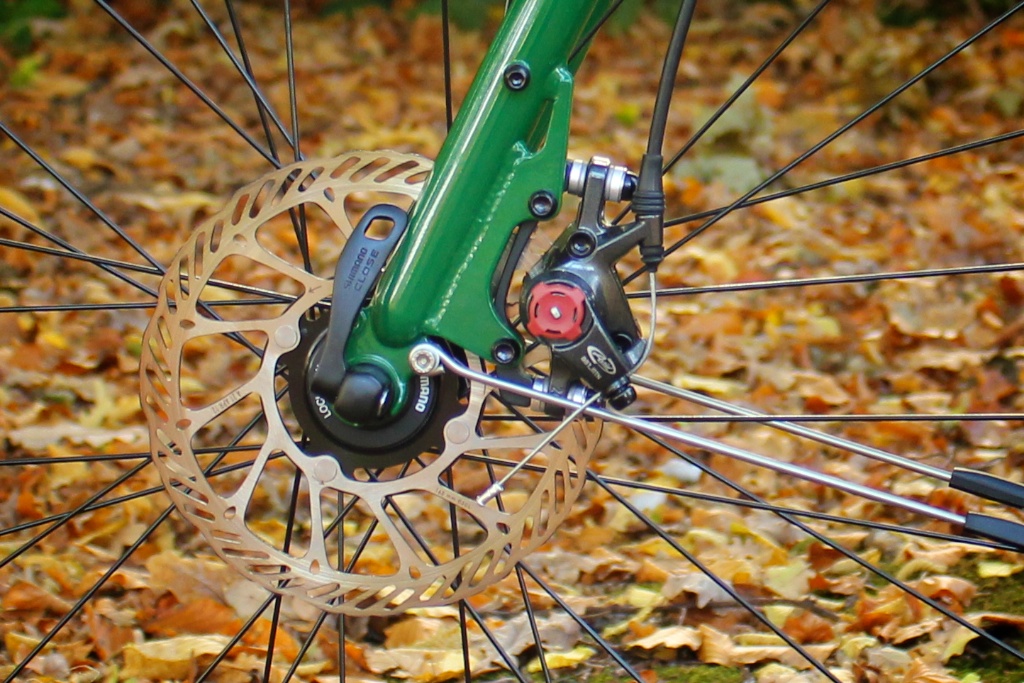
Avid BB7 disc brakes
They work well
For my new bicycle I wanted disc brakes, but was reluctant to switch to hydraulics. According to many people most mechanical disc brakes are not that good, only the Avid BB7 can measure up to the hydraulic ones.
I was lucky that the bicycle I wanted already came equipped with the Avid BB7. Since I was making some big modifications I did have to move the levers to new handlebar.
After replacing and raising the handlebar the brake cable was a bit too short. Using some Nokon I was able to extend the existing cable. With an hydraulic system this would have been impossible. I would have to bleed out the cable, replace the whole thing and fill it up again.
Setup
The first time you use the brakes you need to "bed in" the brake pads. This basically means riding your new bicycle down the street and squeeze the brakes gently to warm them up.
Aligning the disc brakes so that the rotor does not rub the brake pads was a bit finicky at first, but you can get better at it. First I tried squeezing the brake lever to align it, but this does not work very well. Doing it visually works a lot better. The trick for aligning the brakes is that the rotor should go very close along the inner pad. Having a light shine through there helps you see.
Disc brakes have two brake pads that squeeze the rotor from both sides. With the BB7 the inner pad is in a fixed position an the outer pad moves inward and pushes the rotor against it. As the pad wears you need to rotate the (red) adjustment knob to compensate for the wear. No tools are required for this.
Compatibility
In my case the Avid BB7's came with Shimano Center Lock rotors, I expect them to work equally well with other brands.
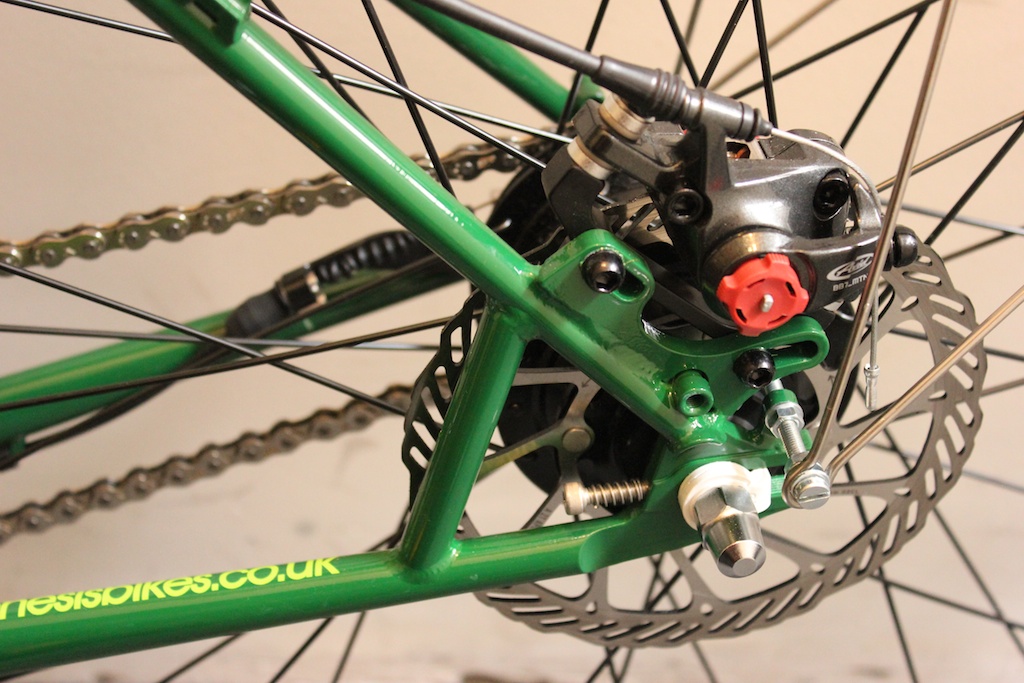
The calipers of the Avid BB7 are quite bulky. This means that fitting mudguards or a rack can be a bit troublesome, you need to double check that it will fit before purchasing them.
The BB7 work with different levers, but Avid's Speed Dial levers are recommended as they can be adjusted to work perfectly with the brakes.
Usage
Squeezing the brake lever does require more effort than with hydraulic brakes, however this depends a lot on the cable routing. If the cable routing is done well it is easy to stop with just one finger on the lever. If the cable routing and adjustment is not optimal it requires significantly more effort. However, at its worst I still found it equal or better than a good set of V-brakes.
Stopping power
Being meant for mountain bikes the BB7 have more than enough stopping power for my bicycle, the limiting factor is grip on the road. With 180 mm rotors and slick 50 mm tires the can brakes can lock up the wheel and skid on the road. With different tires which provide more grip (by being wider, inflated to a lower pressure or having softer rubber) I could probably squeeze out more stopping power out of the BB7.
Adjustment
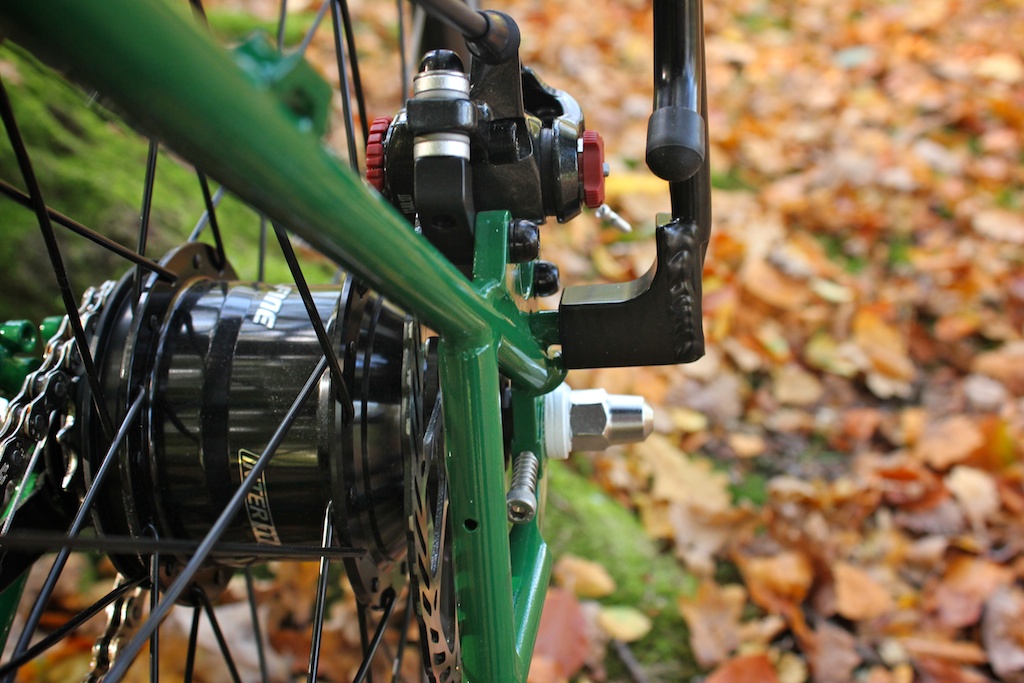
After the initial setup the brake pads will slowly wear off, and you need to "dial in" the adjustment knobs on the calipers. The outside knob is easy, the inside knob is however much harder to do by hand, as the spokes of the wheel prevent you from getting a good grip. Fortunately there is also a torx bolt so you can adjust it with a tool.
The inside pad should be kept very close to the rotor, the outside pad (that moves) can be a little bit further away. You can dial them in until they begin to rub the rotor and then dial them out again until the rubbing stops.
Speed Dial lever adjustment
On the Speed Dial levers you should first adjust the reach of the levers. Even though I have big hands, I found that with ergonomic grips and gloves my fingertips would not reach properly around the lever. The reach adjustment require a small hex key. While adjusting the movement of the lever is very subtle, so you should do it by feeling, rather than by eye.
The next thing is the cable tension. The barrel adjuster should be turned out as much as possible without moving the arm on the brake caliper.
After everything else has been properly adjusted it is time for the modulation. The Speed Dial levers have a small red knob that control the modulation. When you pull the lever you see that it moves the cable either away and towards knob. All the way towards the knob it will pull a lot of cable, but require more effort to pull the lever. Braking action will be strong, sudden and jerky.
If you move the cable further inside you will notice that it requires less effort and you will have much more control (modulation) over the amount of brake power. If you don't have enough braking power you likely have not adjusted something properly somewhere else.
After one year
After riding with the BB7's for one year I am very pleased with them. After the initial setup the performance degraded somewhat until I learned how to properly adjust them. Since then, they are better than new, even with worn brake pads.
The brake pads last a long time. I have not used the bicycle much in the dirt, so they wear out very slowly, I have not had to replace them yet.
The only thing that disappointed me is that the rubber seals at the cable ends all broke after a few months. Their only function is to keep dirt out of the cable housing, so it does not impact the performance much, but it still annoys me because they are not that easy to find and relatively expensive for a stupid piece of rubber.
Conclusion
The brake performs its primary function to slow down and stop a bicycle in a controlled fashion flawlessly. Stopping power and modulation are excellent. Adjusting the brake has a slight learning curve, but with proper adjustment the brake continues to work perfectly for a long time. My only grievance is with the cable seal rubber boots that wear out too quickly.
This article will be updated with more experiences after using them for a longer time.