Extending a brake cable with Nokon
It's actually quite easy
When I got my bicycle it had a very low flat bar on it. The brake cable was barely long enough. After replacing and raising the handlebar it was too short. Okay when going straight but too tight when turning the handlebar. I temporarily alleviated the problem by removing some of the cable guides on the frame giving it a little bit more slack.
Since my bicycle has full length outer cables I would have to replace the whole thing. Cables are not that expensive, but it seemed rather wasteful.
After giving it some thought suddenly Nokon popped into my head. I had seen it years ago, being used to make tight curves the loops of the shifting cable of Shimano derailleur.
Nokon has the reputation of being expensive and finicky, according to some it is not worth the trouble. On the other hand it does look super cool on your bicycle.
Choosing the right kit
Nokon is not cheap, but also very weirdly priced. There are many different kits, and the product descriptions are often unclear on what is exactly included. For example in the same shop there is an extension set KON 51 which gives you 1 meter outer cable, 2 meter inner liner for 28 euros. However for 26 euros there is KON 53 which gives you only 40 centimeters yet 4 meters of inner liner.
Nokon's official website looks like it was last updated since in 1995 and is not very helpful. There is a PDF available for the Nokon starter kit which is quite confusing and badly translated.
It was kind of hard to figure out that I did not need a universal, starter, brake or MTB set. An extension set and adapter set (5.20 euro for 2 pieces) to connect it to the existing Bowden cable was enough.
I got one 1 meter since it was only slightly more expensive than 40 centimeters, which is more than enough for two bicycles, since I am only doing the sharp bend of the rear brake cable.
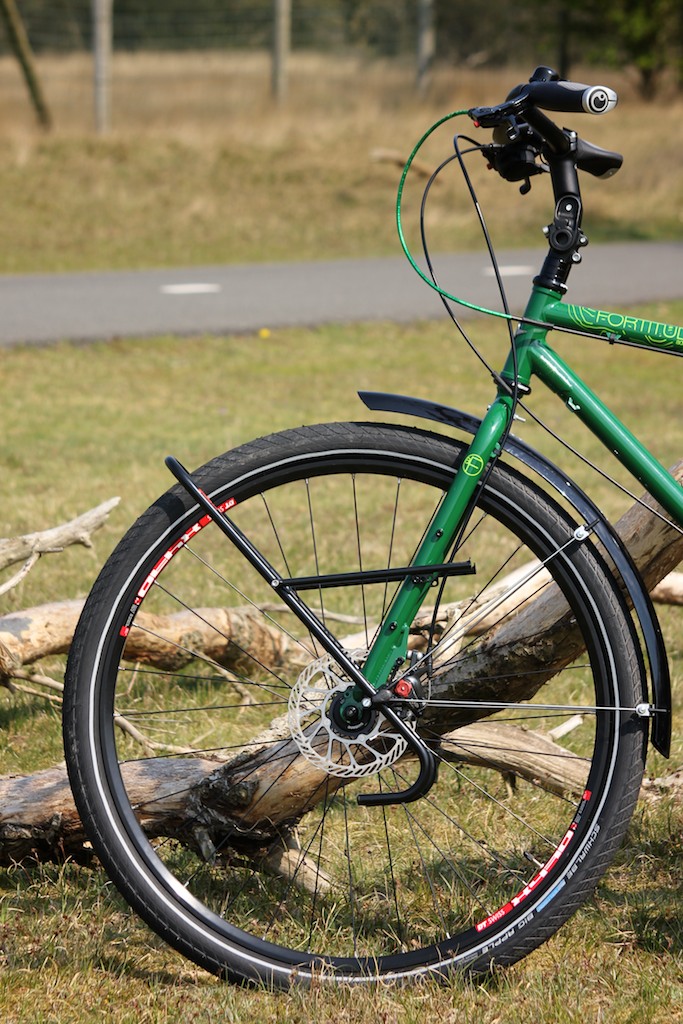
Nokon is available various colors which you can mix and match to your liking. I just got the green set to match my bicycle frame.
Installation
Because I did not buy a starter kit there were no instructions included and I had to figure out myself how to work with it.
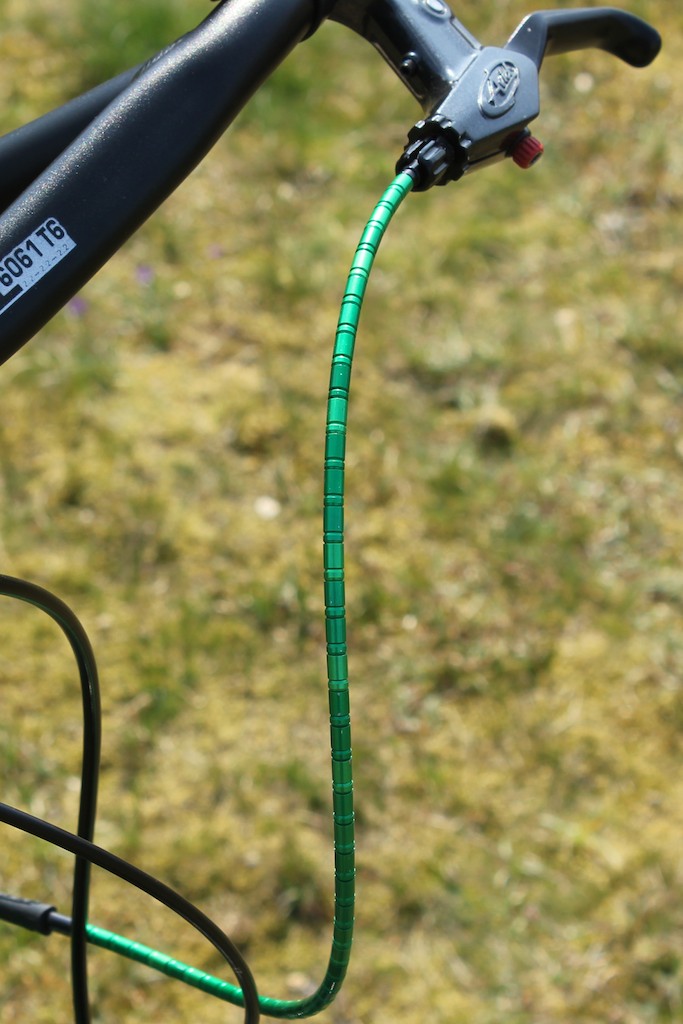
Installation was pretty simple. First estimate how much Nokon you need. Put the pieces on the liner, and cut it with scissors. The pieces fit snugly around the liner and have to be pushed along to move. I read some horror stories on the internet that they would fall off and take forever, but I had no problem at all. The whole experience took mere minutes and was quite enjoyable.
I cut off part of the existing brake cable, replaced the inner cable with a new (longer) one, put on the Nokon, the adapter piece and that's it. It was no trouble at all and did not take that long.
Because I was extending the cable I did have to replace the inner cable, as you cannot extend it. Since it was for the rear brake it was still long enough to be used as a replacement cable for a front brake.
In retrospect I would have liked to make the Nokon string even longer. Because the cable is stiffer than the Nokon string the cable keeps going straight for as long as it can and the Nokon string is the part that is getting bend. With a longer Nokon string the bend would be less strong.
Making changes
After writing this article I decided to increase the Nokon part of the cable. I once again removed the inner cable and cut off the outer cable at the point where it reaches the head tube. Then I filled down the outer cable so that it was pretty flat. I also put a rubber frame protector around the cable here to prevent it from rubbing against the paintwork.
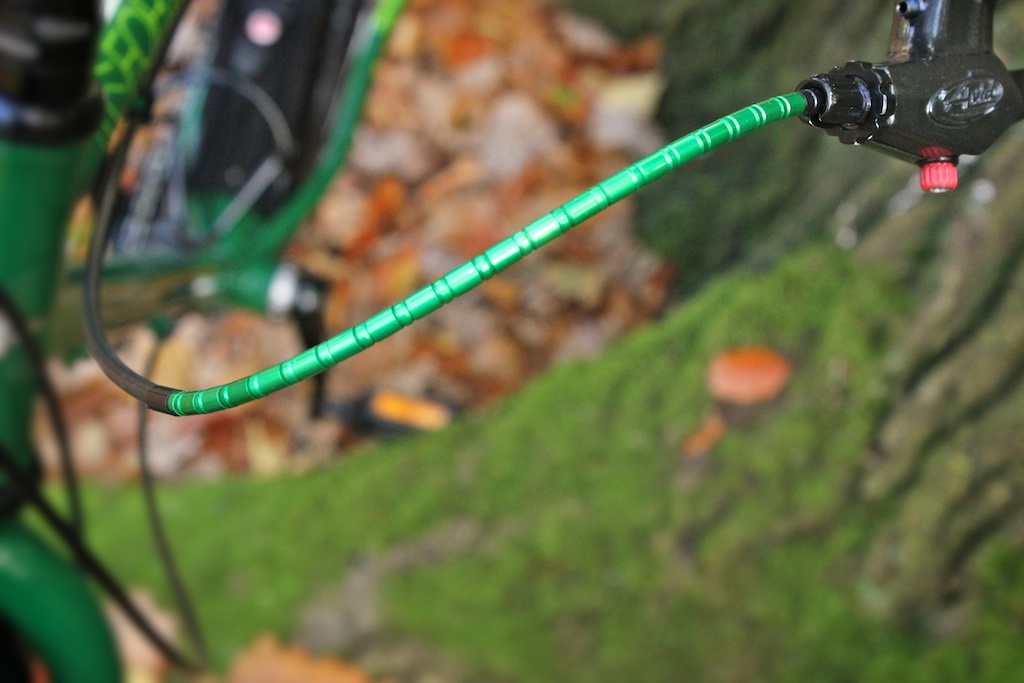
I was able to re-use all the beads, I did have to cut a longer piece of the liner, but since the kit came with 2 meters, this was no problem. The shorter piece of liner I saved for later. Below are two pictures of the brake cable with even more Nokon pieces on it.
Long term use
After a little over a year I started to notice a creaking sound when turning the handlebar. At first I thought it the bearings in the headset. When I removed the handlebar to check it out I found out the creaking sound was coming from the Nokon cable.
Some quick research on the internet told me that creaking seems to be a common issue with Nokon as it gets older. The solution is to libe it regularly. I loosened the barrel adjuster to get some space between the pieces and then rubbed some PTFE oil over the cable, which reduced the creaking.